Step 1: Set Up the Scene
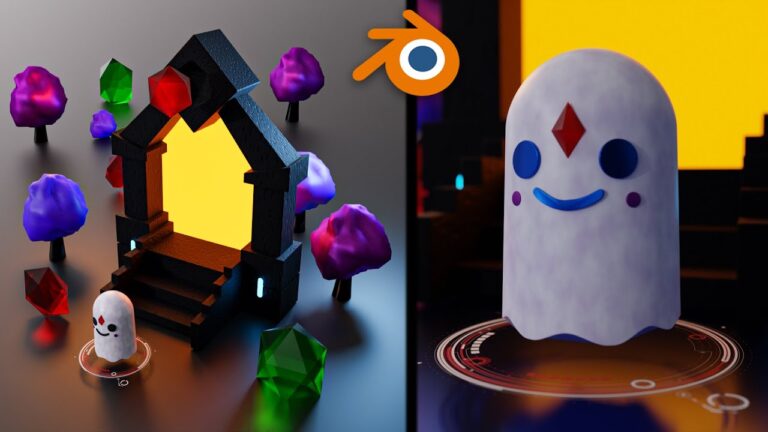
- Start by creating the object that will serve as the ghostly figure. This could be a humanoid model, a flowing sheet, or even a foggy silhouette.
- Position it in the center of your scene for easy camera focus.
Step 2: Adjust the Shader for Transparency
- Select your ghost model and go to the Shader Editor.
- Set up a new material and adjust it for transparency:
- Use a Mix Shader node and connect both a Transparent BSDF and a Principled BSDF.
- Control the transparency by adding a ColorRamp node and an Image Texture or Noise Texture for subtle irregularities in transparency. This will give the ghost a patchy, slightly see-through look.
- Adjust the Alpha in the Principled BSDF shader for a faint appearance.
Step 3: Add a Glow Effect
- To create an eerie glow, add an Emission Shader to the Mix Shader node.
- Adjust the emission strength to create a faint glow that makes the ghost appear ethereal.
- For added realism, use a gradient texture to make parts of the ghost brighter than others (such as the head or hands).
Step 4: Create the Material for a Ghostly Effect
- Use Subsurface Scattering to make the ghost’s material appear soft and slightly translucent.
- Lower the Roughness value to make the ghost have a more spectral, smooth appearance.
- Experiment with colors in the emission shader (like faint blues, greens, or purples) to give it a supernatural look.
Step 5: Add Volumetric Lighting for Atmosphere
- Go to the World Settings and add a Volume Scatter shader to the environment.
- Adjust the Density and Anisotropy to add a foggy atmosphere, enhancing the ghostly effect.
- Position a light source behind or beside the ghost to emphasize the silhouette and create a haunting backlit glow.
Step 6: Animate Subtle Movements (Optional)
- Add a slight floating or swaying animation to the ghost by animating the location and rotation.
- Use the Noise Modifier in the Graph Editor to create gentle, random movements, making the ghost appear to float or drift.
Step 7: Render and Composite
- When rendering, enable Bloom in the Render Properties under Eevee settings (or use Compositing Nodes in Cycles) to make the glow more prominent.
- In the Compositor, add effects like Glare and Blur to enhance the ghostly appearance and create a spectral, dreamlike effect.
Final Touches:
- Adjust camera angles and depth of field for a dramatic perspective.
- Consider using darker, muted backgrounds to help the ghostly figure stand out.
This will result in a ghostly 3D art illusion that looks hauntingly real! You can experiment with textures, lighting, and compositing settings to get the perfect eerie effect.

