Step 1: Introduction
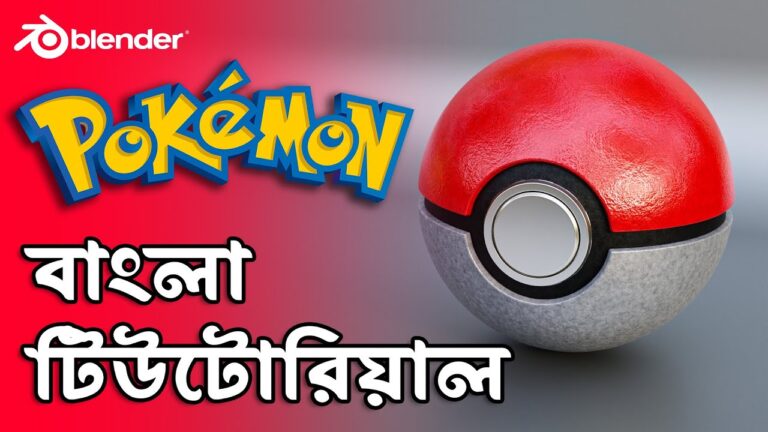
- Briefly introduce Blender and the tutorial’s objective in Bangla, explaining that you’ll be modeling a Poké Ball from scratch.
Step 2: Setting Up the Scene
- Add a Sphere: Start by adding a UV Sphere in Blender (
Shift + A> Mesh > UV Sphere). - Scaling the Sphere: Use the Scale Tool (
S) to adjust the size of the sphere to your preference. - Subdivision Surface Modifier: Add a Subdivision Surface modifier to make the sphere smooth and increase its Resolution.
Step 3: Creating the Poké Ball’s Upper and Lower Halves
- Separate the Halves: Enter Edit Mode (
Tab) and select the middle edge loop of the sphere. - Use Knife Tool or Loop Cut to create a division line, then separate the top and bottom parts.
- Assign different colors to the top (red) and bottom (white) halves using Materials in the Shader Editor.
Step 4: Modeling the Center Button
- Add a Circle: Add a Circle mesh to the center of the sphere for the button.
- Extrude and Scale: Use Extrude (
E) and Scale (S) tools to shape the circle into a small, raised button. - Assign a gray or metallic material to the button using Materials.
Step 5: Adding Details to the Poké Ball
- Black Ring Around the Center: Create a thin, black ring around the middle of the Poké Ball by duplicating the edge loop and adjusting its thickness.
- Align and Position Elements: Ensure all elements align properly by using Snap and Align tools for precision.
Step 6: Applying Materials and Colors
- Top Half (Red): Add a new Material slot, set the color to red, and assign it to the top half of the Poké Ball.
- Bottom Half (White): Similarly, create a white material for the bottom half.
- Button and Ring: Apply metallic shaders to the button and black color to the ring to give it a realistic look.
Step 7: Lighting and Rendering
- Add Lights: Add a Point Light or Area Light to illuminate the Poké Ball, and adjust the strength and position for a balanced light setup.
- Render Settings: Use Eevee or Cycles as your render engine. In Cycles, you can enable Ambient Occlusion and Screen Space Reflections to enhance realism.
Step 8: Rendering the Final Image
- Camera Setup: Position the camera for a good angle, focusing on the Poké Ball.
- Adjust the Render Resolution and Samples settings for a high-quality output.
- Render the Image and save it.
Step 9: Outro
- Summarize what was covered in Bangla, and invite viewers to experiment with other objects in Blender.
This structure will help you explain each step in a clear, easy-to-follow way for beginners in Bangla. Good luck with the tutorial! Let me know if you need help with specific steps in Blender.

